Tutorial This tutorial will show you how to download and install the skins provided on Anime Winamp Skins. Tutorial assumes: You use Windows Vista and have Google Chrome as your web browser. |
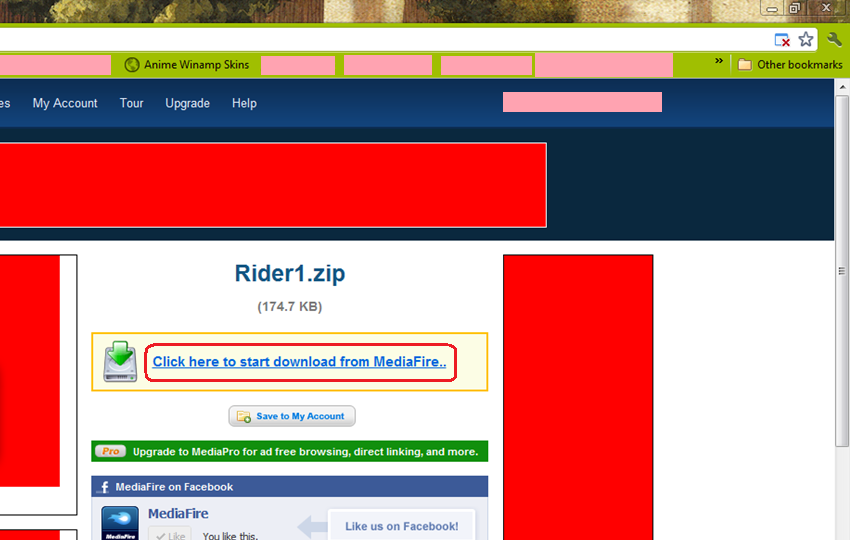
Step 1: |

Step 2: |
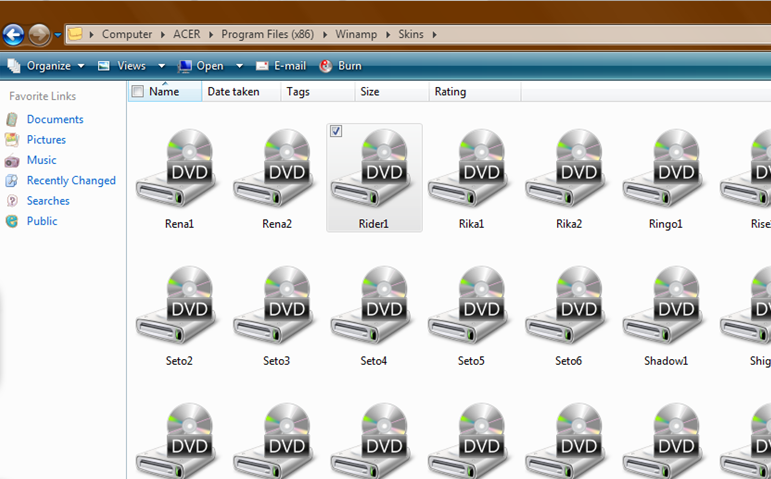
Step 3: |

Step 4: |
Step 5: |
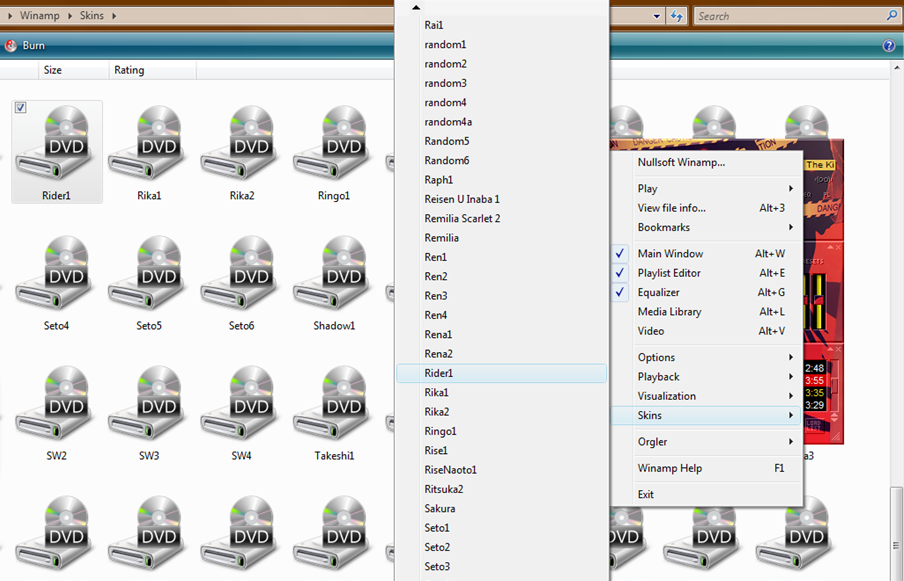
Step 6: |